
In This Article:
a. Introduction: What Is MailDrip?
b. Things To Know
c. Creating Your Account
d. Exploring The Dashboard
e. Setting Up Your First Campaign
f. Conclusion
Introduction
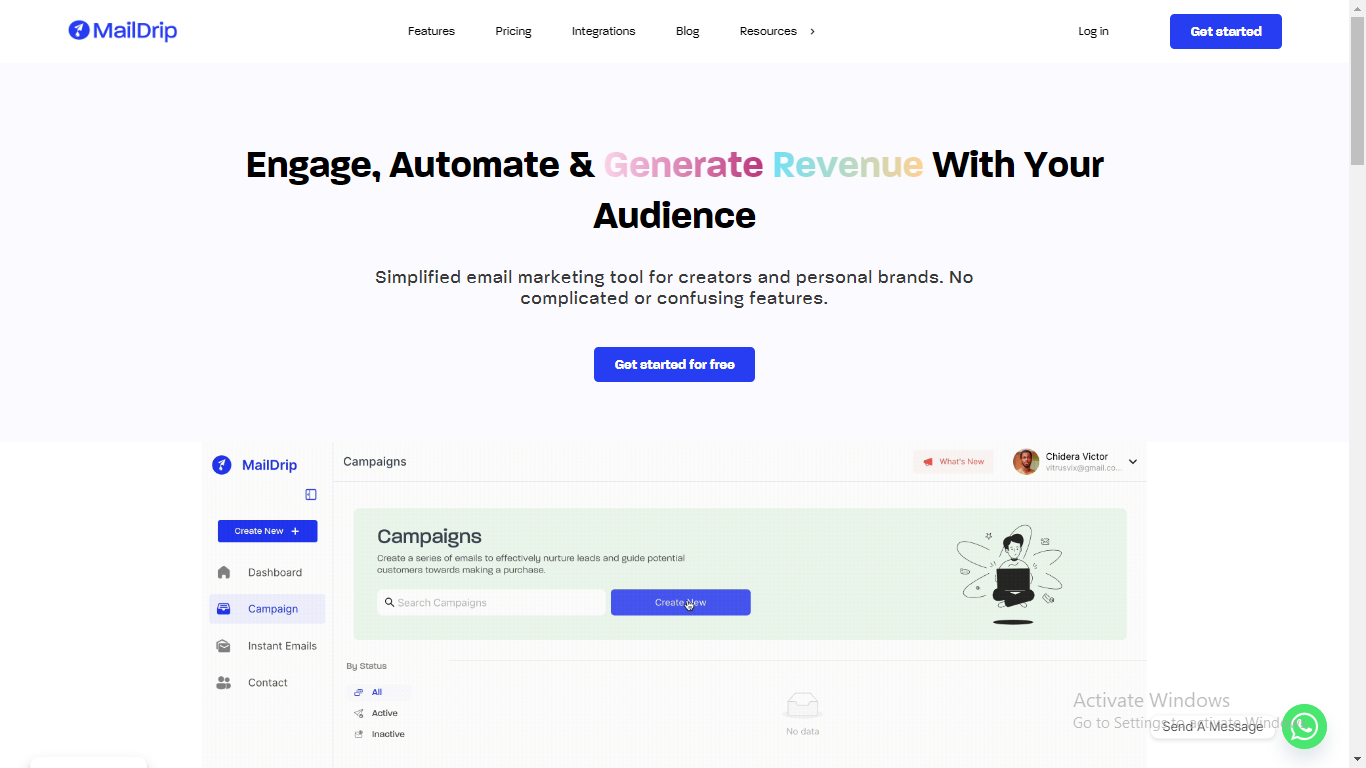
What is MailDrip?
MailDrip is an email marketing platform designed for the comfort and ease-of-use of all brands and businesses, most especially for creators and personal brands. This platform has a strong basis in drip marketing, one of the most effective email marketing strategies to be discovered.
Things To Know
MailDrip aids you in transforming and scaling your business with features and functionalities such as:
a. Automation
b. List Segmentation
c. Mailing List importation and exportation
c. Third-party integrations
d. Intuitive analytics
e. Informational resources, e.g blogs, videos, etc.
f. SMS
and others.
To understand how to utilize MailDrip to drive conversions and scale your business, continue downwards in this MailDrip beginner’s guide.
Creating Your Account:
To sign up for MailDrip, visit the MailDrip website homepage and click on the “Start For Free” button. Additionally, you can access the sign-up page here.

Creating your account involves two steps. To complete step one,
a. Enter your name.
b. Input your workplace in the next field.
c. Input your role in the workplace.
d. Enter your email address.
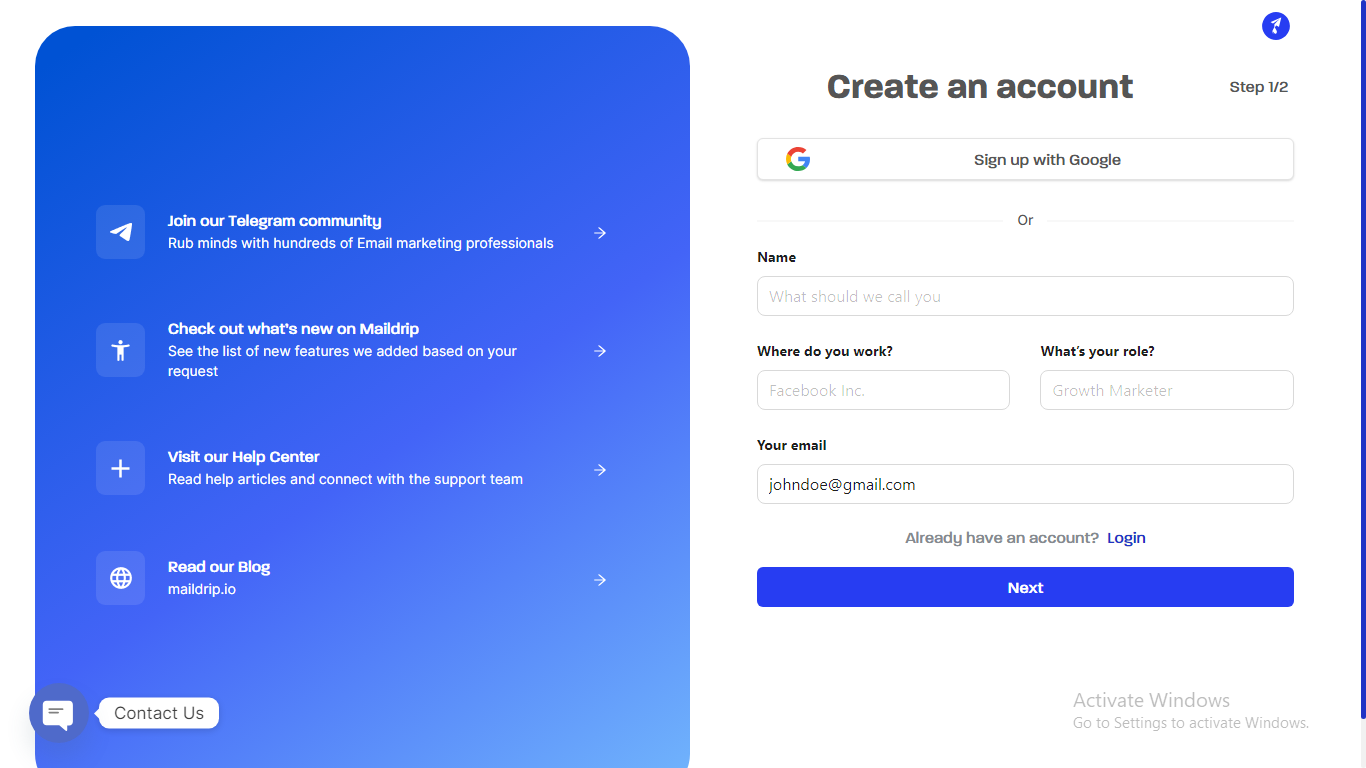
Then, click on the ‘Next‘ button to be directed to step two. In step two you have the option to sign up for MailDrip with your Google account or complete creating your MailDrip account. To complete the creation of your MailDrip account,
a. Enter your phone number.
b. Enter a strong password.
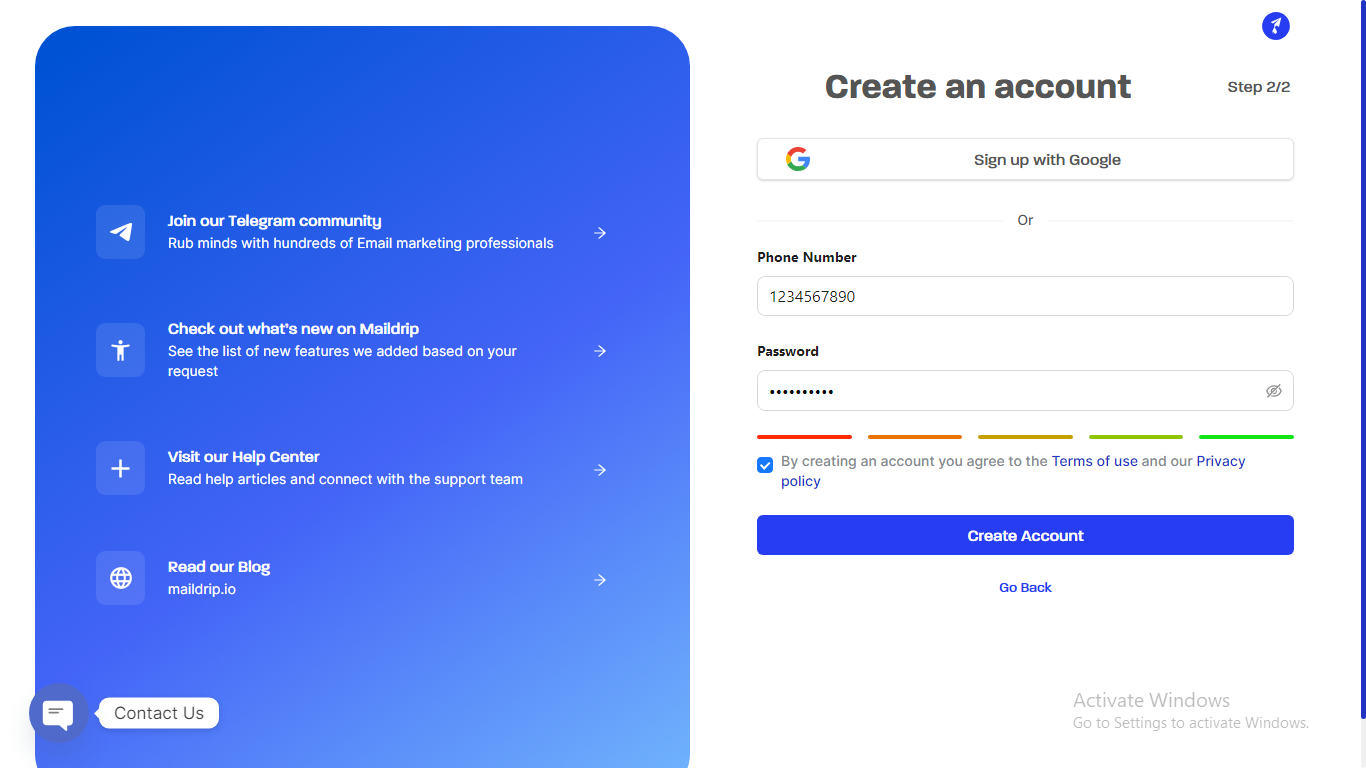
When you are done, click on Create Account. A verification link will be sent to the provided email address after this. Click on the link to complete your account creation process and enjoy the full capabilities of MailDrip.
If you made any errors while inputting your information in Step one, you can click on ‘Go back‘ and you will be redirected to the first page.
Exploring The Dashboard
Once you are done with the MailDrip sign-up and setup, you can explore the features available to you as a MailDrip user.
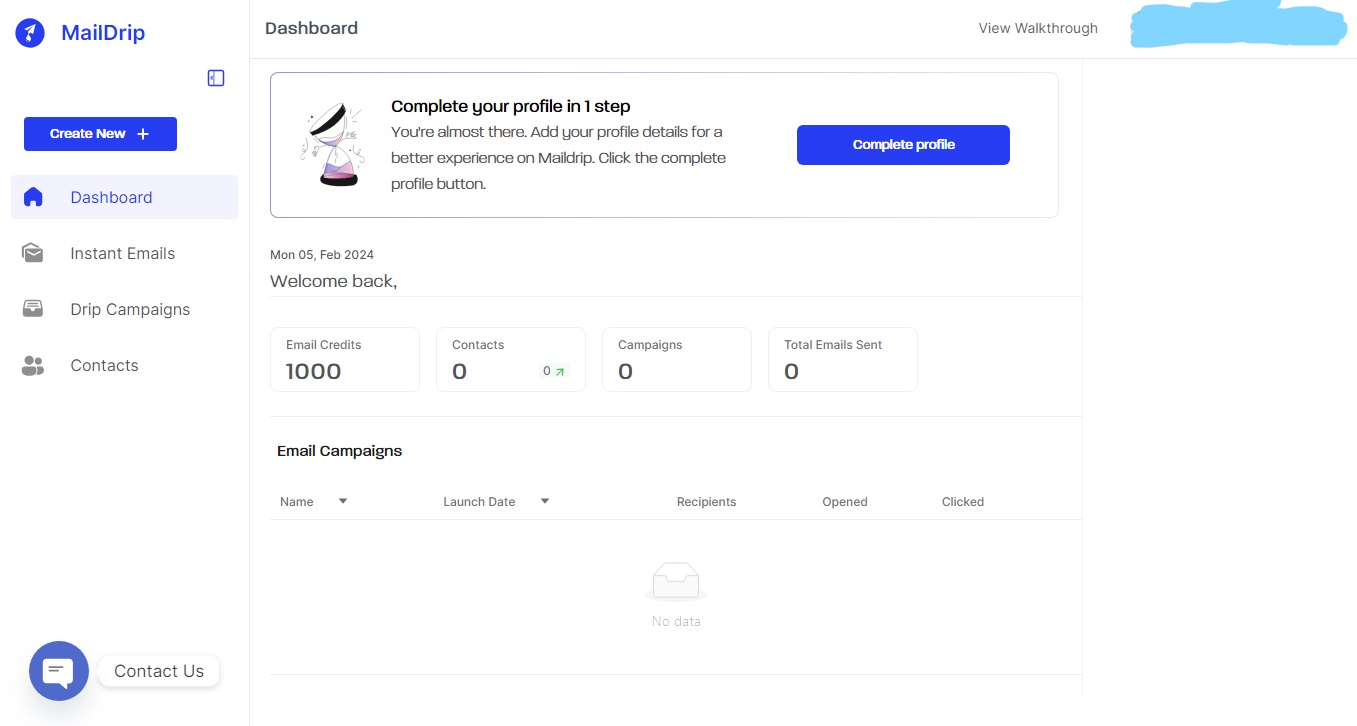
The first page you will see after creating your account is the dashboard. Here, you can view your email marketing metrics such as the number of emails sent and the number opened. The number of contacts in your mailing list is also made available on the dashboard.
One significant number on the dashboard is the one representing the total email credits you have available to you. Email credits are free tokens gifted to you by MailDrip that can be used to send emails to your contacts. As a user on the free plan, email credits allow you to explore all the features and functionalities of MailDrip without a heavy commitment in order to aid you along your email marketing journey.
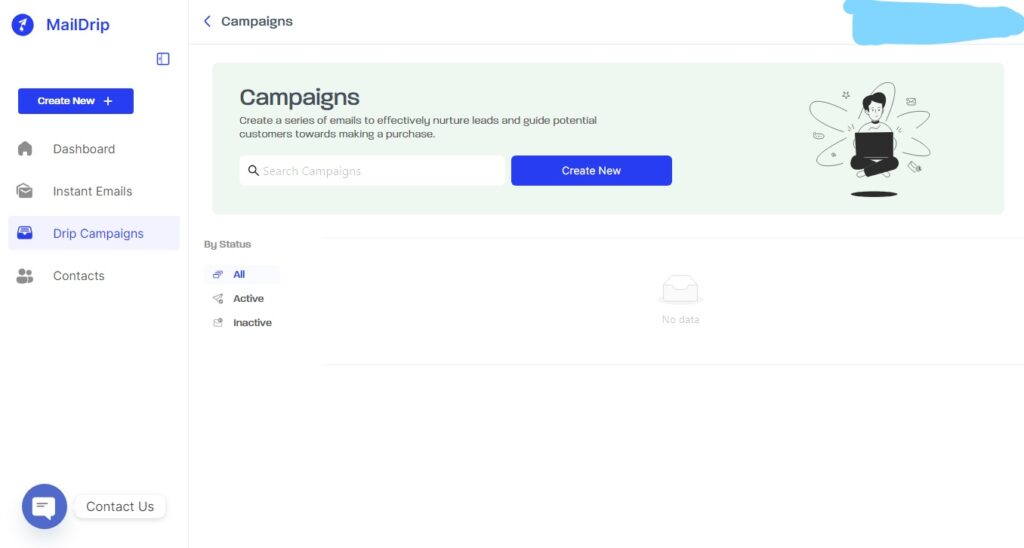
Setting Up Your First Campaign
To set up (and eventually launch) your first campaign on MailDrip, navigate to the Drip Campaigns page. Once there, click on the Create New button.
A Create Campaign alert box will pop up. At the provided input field, enter the name of the campaign you would like to set up.
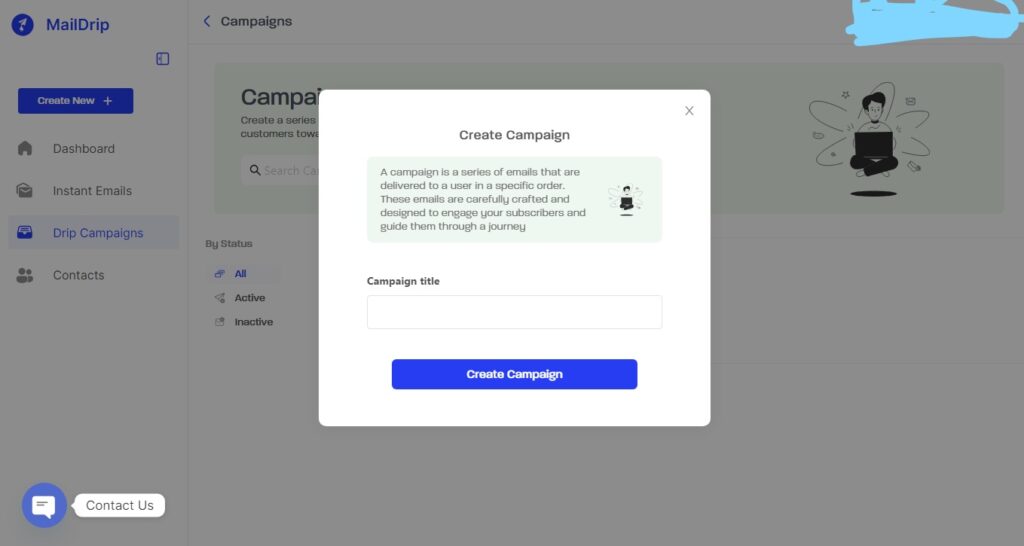
NOTE: An email campaign consists of a series of emails which are sent to your mailing list or subscribers’ list and are usually automated and sent for a specific reason, like advertising a new product, welcoming new subscribers, etc.
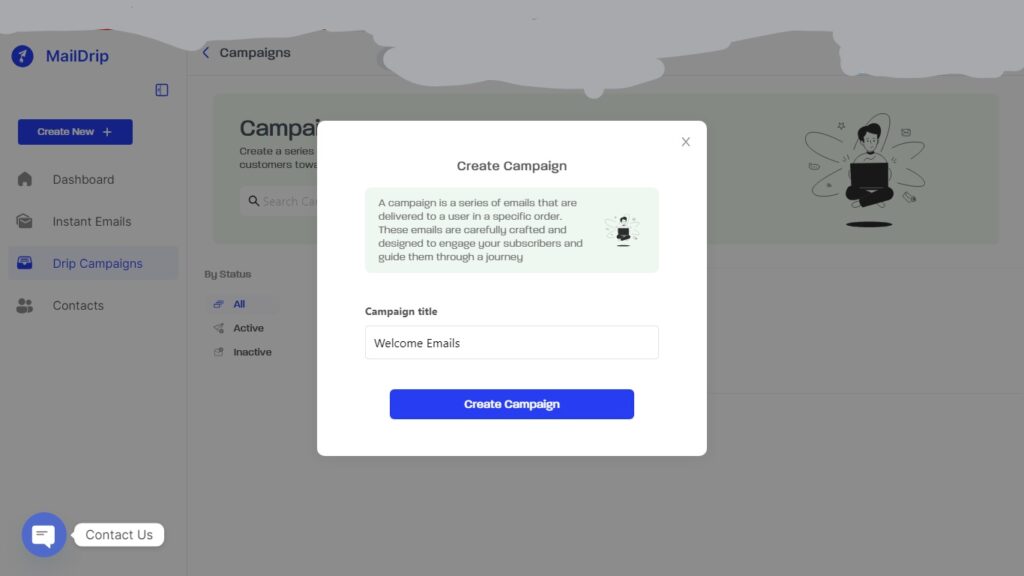
Since you can easily set up as many email campaigns as you want, it is recommended to give your campaigns titles that match your objective, i.e., the reason for running the campaign. For example, you can simply name the emails you send to new subscribers ‘Welcome Emails’.
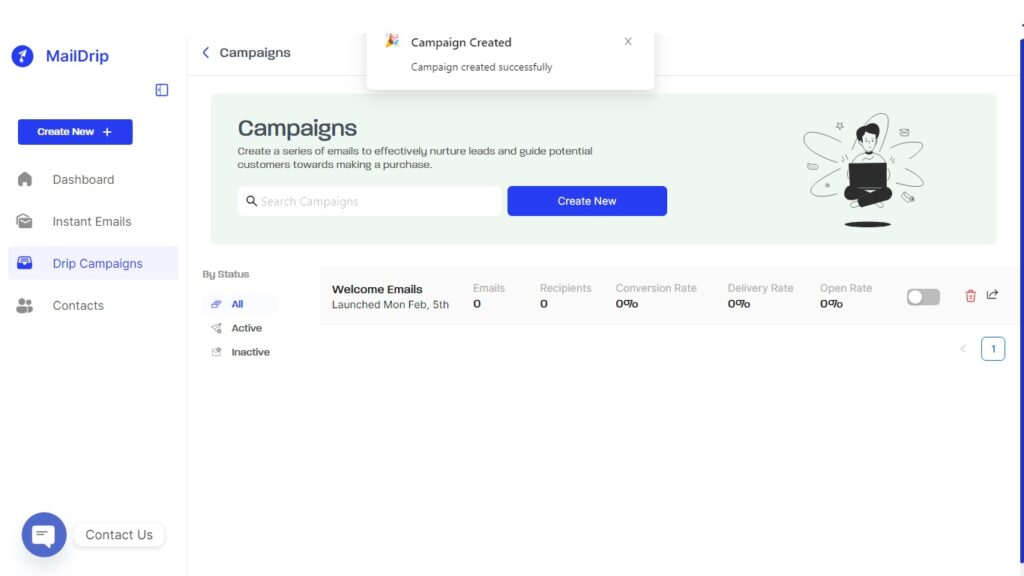
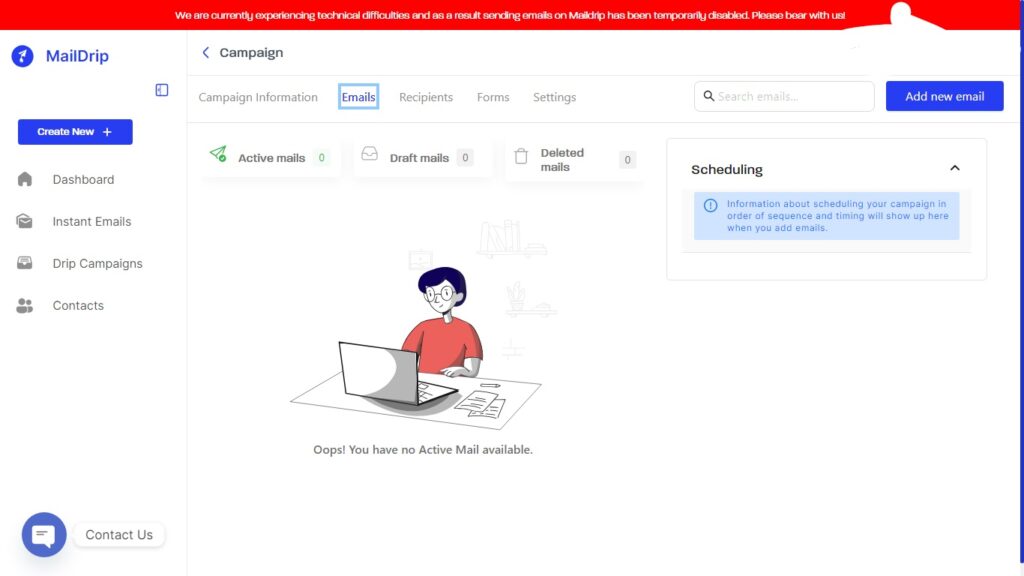
This page will now be updated with a newly created campaign. To add an automated email to your campaign, click on the campaign title.

On the top navigation bar of the page, click on Emails (this is the second option from the left). On the same top navigation bar of the page, two new options will appear on the extreme right. Proceed to click on the ‘Add new email’ button.
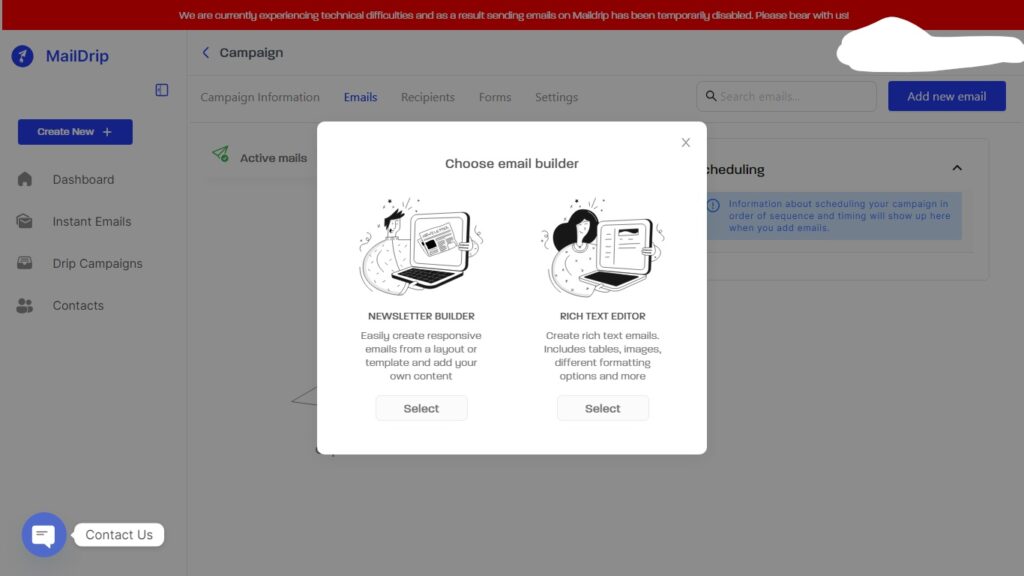
Another alert box will pop up. This contains your options for an email builder or email editor. You can choose either the Newsletter Builder or the Rich Text Editor, depending on your campaign needs.
[Image here]
Once you have selected your preferred builder for the campaign, you can begin crafting the content of your campaign in the editor.
In the Newsletter Builder, you can choose to use the templates provided by MailDrip and customize to fit your idea for the email or you can create one from scratch.
[Image here]
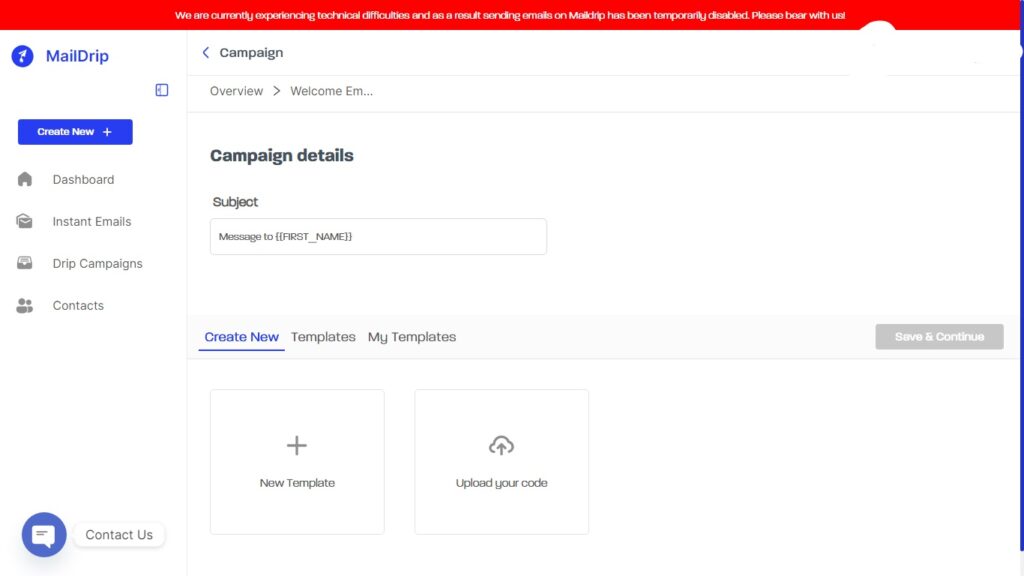
To create from scratch,
a. Click on Create New.
b. Click on New Template if you want to build from scratch using plain text in the editor. Click Upload Your Code to craft your email using the code.
NOTE: The text editor for the Newsletter Builder is a drag-and-drop editor. Additionally, you can schedule a time interval for each email in the campaign (i.e., the time in minutes, hours, days, and months that the email should be sent after the previous one has been sent).
In the Rich Text Editor, you can customize your email to fit your brand’s voice and image. You can insert videos, images, links, tables, block quotes, etc. into the body of your email. You can also automate the personalization of each email in your campaign using tags.
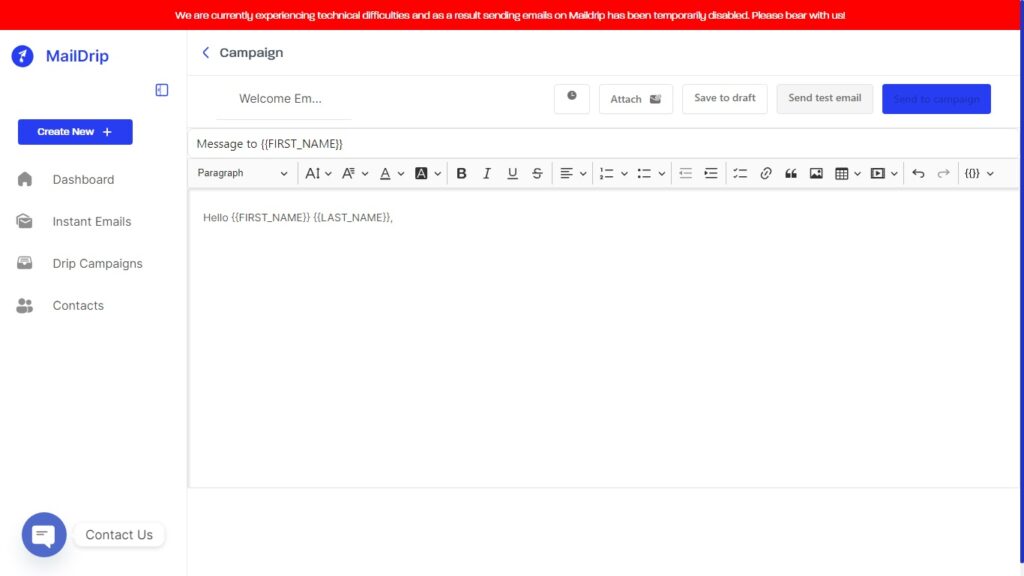
Once you are satisfied with the result, click on Send to Campaign to add the email to the campaign. Then, click on the campaign title once again and click on Add Recipient to add the desired contacts or group to receive the emails. After this, go back to the Drip Campaigns page and toggle the campaign on to launch it.
Conclusion
A MailDrip best practice for you as a user: always send test emails to ensure that your emails look exactly how you want them to and that they are responsive on every device. You can accomplish this by clicking on Send Test Email after the completion of each email, and the email will be sent to your registered email address.